Published
- 4 min read
Implementing the Repository Pattern in .NET: A Game-Changer for Clean Code

Implementing the Repository Pattern in .NET: A Game-Changer for Clean Code
In software development, particularly with .NET, the repository pattern can be a transformative tool for managing complex codebases. It simplifies data access logic, keeps the code clean, and ensures better organization in larger applications. Let’s dive into what a repository is, why it’s beneficial, and how to use it in your .NET applications.
What is a Repository?
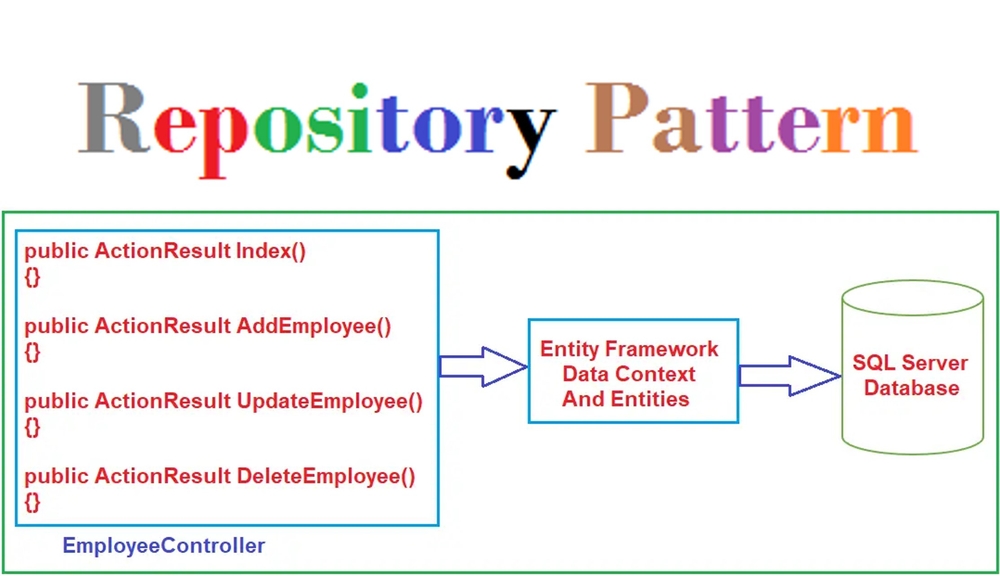
Think of a repository as a middleman between your application and the database. Instead of embedding database access code all over your application, you centralize it in a repository. This not only keeps your code more organized but also abstracts the details of data access, allowing you to focus on the business logic.
In this article, we’ll implement a repository pattern to manage CRUD (Create, Read, Update, Delete) operations for a game character in a .NET application using Entity Framework.
Setting Up the Project
We’re using ASP.NET Core Web API with Entity Framework Core for this project. The project already includes:
- A GameCharacter entity representing a game character.
- A GameContext class for the Entity Framework Core database context.
- A connection string and code-first migration setup.
Now, let’s organize the data access code with a repository pattern.
Step 1: Define the Repository Interface
We’ll start by creating an interface that defines the repository’s capabilities. This interface will act as a contract for any class implementing the repository.
       public interface IGameCharacterRepository
{
    List<GameCharacter> GetAllCharacters();
    GameCharacter GetCharacterById(int id);
    void AddCharacter(GameCharacter character);
    void UpdateCharacter(GameCharacter character);
    void DeleteCharacter(int id);
}
Step 2: Implement the Repository
Next, we’ll create the GameCharacterRepository class that implements the IGameCharacterRepository interface. This class will handle data access via Entity Framework.
public class GameCharacterRepository : IGameCharacterRepository
{
    private readonly GameContext _context;

    public GameCharacterRepository(GameContext context)
    {
        _context = context;
    }

    public List<GameCharacter> GetAllCharacters()
    {
        return _context.GameCharacters.ToList();
    }

    public GameCharacter GetCharacterById(int id)
    {
        return _context.GameCharacters.Find(id);
    }

    public void AddCharacter(GameCharacter character)
    {
        _context.GameCharacters.Add(character);
        _context.SaveChanges();
    }

    public void UpdateCharacter(GameCharacter character)
    {
        var characterToUpdate = _context.GameCharacters
            .FirstOrDefault(c => c.Id == character.Id);
        if (characterToUpdate == null) return;

        characterToUpdate.Name = character.Name;
        characterToUpdate.Health = character.Health;
        characterToUpdate.Level = character.Level;
        characterToUpdate.Weapon = character.Weapon;

        _context.SaveChanges();
    }

    public void DeleteCharacter(int id)
    {
        var character = _context.GameCharacters.Find(id);
        if (character == null) return;

        _context.GameCharacters.Remove(character);
        _context.SaveChanges();
    }
}
Step 3: Use Dependency Injection
In ASP.NET Core, we can inject services like the GameCharacterRepository into the controllers through Dependency Injection. First, register the repository in Program.cs.
builder.Services.AddScoped<IGameCharacterRepository, GameCharacterRepository>();
This tells the application to inject the GameCharacterRepository whenever IGameCharacterRepository is required.
Step 4: Create the Controller
The final step is to use this repository in our controller. Let’s create an APIController to handle requests related to game characters.
[ApiController]
[Route("api/[controller]")]
public class GameCharactersController : ControllerBase
{
    private readonly IGameCharacterRepository _repository;

    public GameCharactersController(IGameCharacterRepository repository)
    {
        _repository = repository;
    }

    [HttpGet]
    public IActionResult GetAllCharacters()
    {
        var characters = _repository.GetAllCharacters();
        return Ok(characters);
    }

    [HttpGet("{id}")]
    public IActionResult GetCharacterById(int id)
    {
        var character = _repository.GetCharacterById(id);
        if (character == null) return NotFound();
        return Ok(character);
    }

    [HttpPost]
    public IActionResult AddCharacter(GameCharacter character)
    {
        _repository.AddCharacter(character);
        return CreatedAtAction(nameof(GetCharacterById), new { id = character.Id }, character);
    }

    [HttpPut("{id}")]
    public IActionResult UpdateCharacter(int id, GameCharacter character)
    {
        if (id != character.Id) return BadRequest();
        _repository.UpdateCharacter(character);
        return NoContent();
    }

    [HttpDelete("{id}")]
    public IActionResult DeleteCharacter(int id)
    {
        _repository.DeleteCharacter(id);
        return NoContent();
    }
}
Benefits of the Repository Pattern
By separating the data access logic into a repository, you enjoy several benefits:
- Cleaner Controllers: Your controllers focus only on handling HTTP requests and responses.
- Testability: It becomes easier to mock repositories during testing.
- Loose Coupling: If you decide to switch databases or ORM tools, your controllers remain unaffected since the data access logic is encapsulated in repositories.
The repository pattern is a powerful way to keep your .NET code organized, maintainable, and testable. By abstracting the data access layer, you allow your application to grow without becoming cluttered with database logic scattered throughout. Try implementing this in your next .NET project to see how it can improve code quality and scalability.
For more advanced topics like Dependency Injection, Entity Framework Code First Migrations, and Unit Testing with Repositories, stay tuned!