Part 1: Setting Up The Project
In this tutorial I’ll show you how to start your Angular 5 Project from scratch and add Bootstrap 4 and the Firebase library to your application. This is the perfect application skeleton for your web application project.
Setting Up The Angular Project
First we need to setup an Angular project. This is done by using Angular CLI (https://cli.angular.io/). If you have not installed Angular CLI on your system first make sure that the command line interface is installed by executing the following command:
$ npm install -g @angular/cli@latest
Having installed Angular CLI you can now make use of the ng command. By using this command we’re able to initiate a new Angular project:
$ ng new ng4fbbootstrap --skip-install
To initiate a new project we need to use the command line parameter new and specify the name of the new project. Furthermore the option –skip-install is used to avoid that NPM dependencies are installed automatically. This is needed because Angular 5 should be used for our application. At the time of writing Angular 5 is not released yet and only available as a Release Candidate version, so that we have to update our package.json file first.
$ cd ng4fbbootstrap
"dependencies": {
    "@angular/animations": "^5.0.0-rc.1",
    "@angular/common": "^5.0.0-rc.1",
    "@angular/compiler": "^5.0.0-rc.1",
    "@angular/core": "^5.0.0-rc.1",
    "@angular/forms": "^5.0.0-rc.1",
    "@angular/http": "^5.0.0-rc.1",
    "@angular/platform-browser": "^5.0.0-rc.1",
    "@angular/platform-browser-dynamic": "^5.0.0-rc.1",
    "@angular/router": "^5.0.0-rc.1",
    "@ng-bootstrap/ng-bootstrap": "^1.0.0-beta.5",
    "angularfire2": "^5.0.0-rc.2",
    "bootstrap": "^4.0.0-beta",
    "core-js": "^2.4.1",
    "firebase": "^4.4.0",
    "jquery": "^3.2.1",
    "popper.js": "^1.12.5",
    "rxjs": "^5.4.2",
    "zone.js": "^0.8.14"
  },
  "devDependencies": {
    "@angular/cli": "^1.5.0-beta.4",
    "@angular/compiler-cli": "^5.0.0-rc.1",
    "@angular/language-service": "^5.0.0-rc.1",
    "typescript": "~2.4.1"
}$ npm installNote: Once the final release of Angular 5 is available you can skip the step of manually updating packaging.json and executing the package installation as an additional step. You can then use ng new ng4fbbootstrap to create a new project (dependencies are installed automatically).
In the project folder you can execute the following command to launch the development web server:
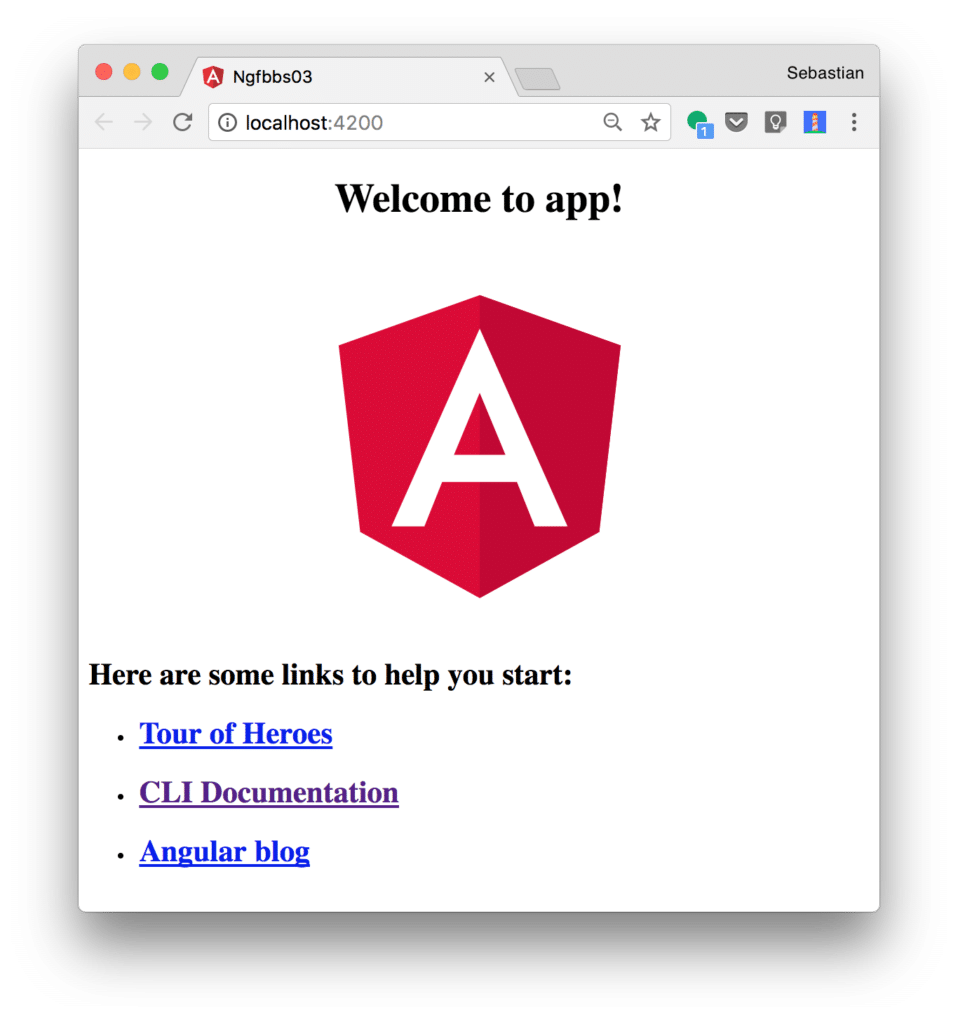
$ ng serve
The server is started and the application can be accessed on http://localhost:4200 as you can see in the following screenshot:
Setting up Firebase
Next step is to include the Firebase in our project. Two steps are needed here:
Creating A Firebase Project
To create a new Firebase project go to the Firebase website https://firebase.google.com and create a new account / sign in with your Google credentials. After you’re being logged in successfully you can click on the link Go To Console to access the Firebase back-end:
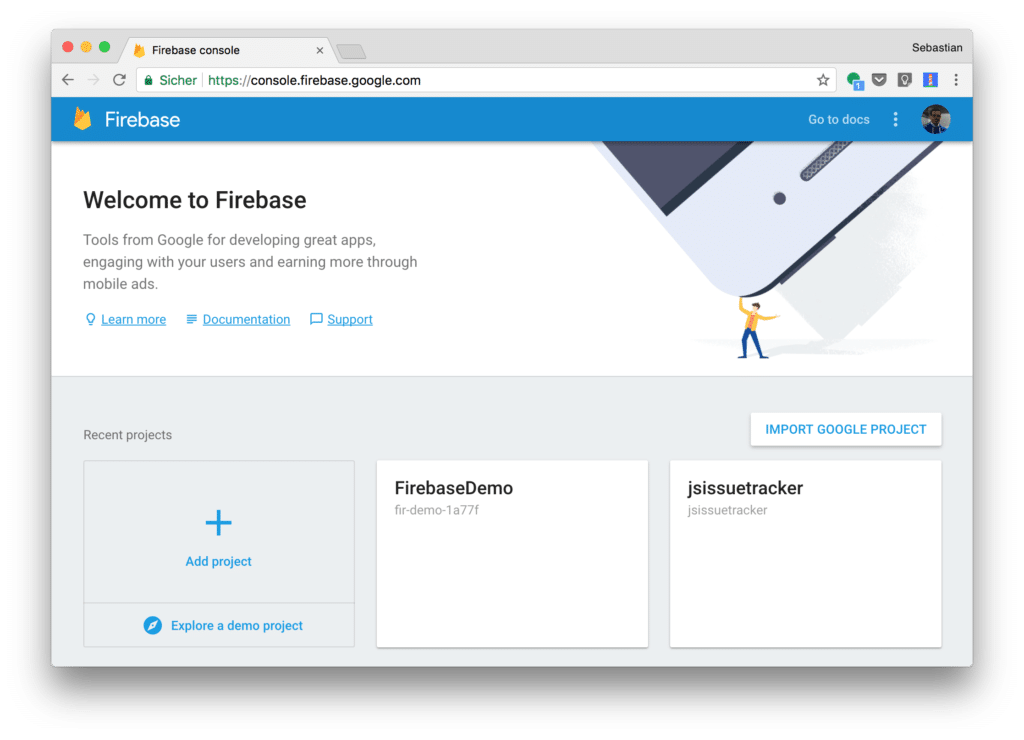
Here you can click on Add project to add a new Firebase project or select one of the existing projects. You’re taken to the project console next:
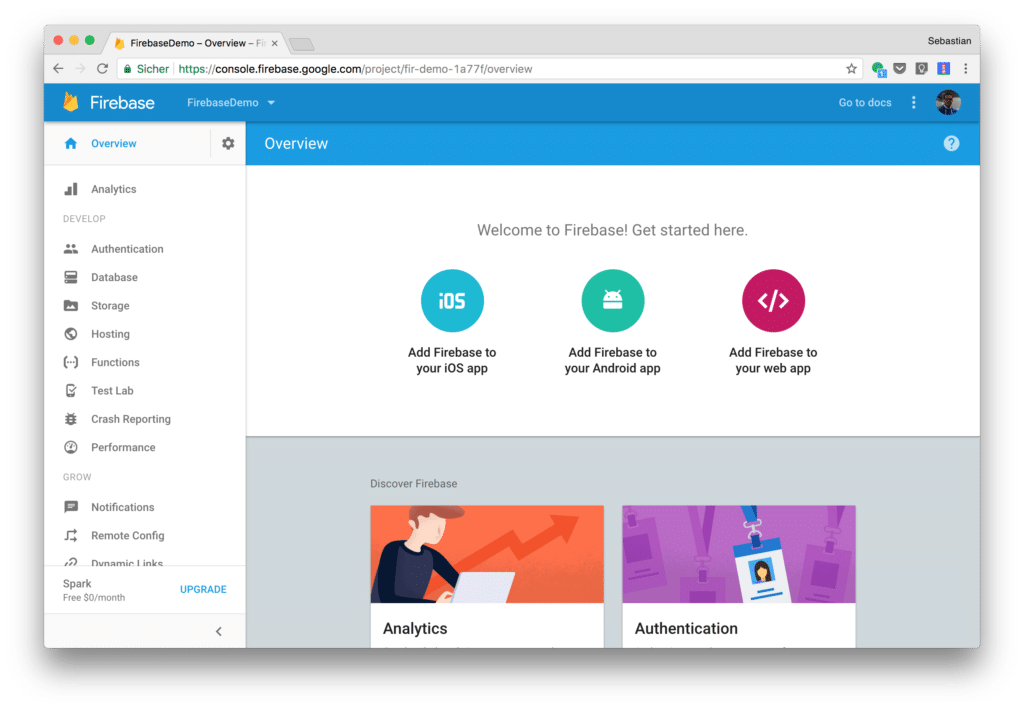
Click on the link Add Firebase to your web app to access the following dialog:
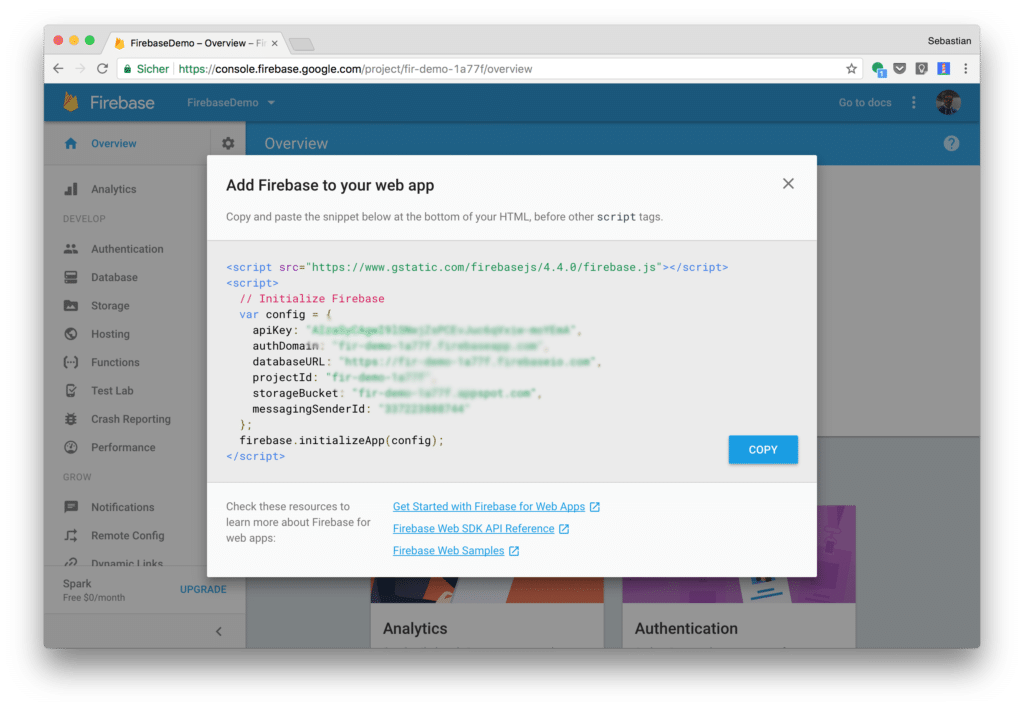
Here you can find the JavaScript code which is needed to initialize the Firebase project for your website. However, to include this Firebase configuration in the Angular project we do only need a part of that code snippet. Copy the key-value pairs inside the config object and insert those pairs inside the file environments/environment.ts in the following way:
export const environment = {
  production: false,
  firebase: {
    apiKey: "[...]",
    authDomain: "[...]",
    databaseURL: "[...]",
    projectId: "[...]",
    storageBucket: "[...]",
    messagingSenderId: "[...]"
  }
};
The key-value pairs are inserted into a new property named firebase. The same needs to be inserted into environments/environment.prod.ts:
export const environment = {
  production: true,
  firebase: {
    apiKey: "[...]",
    authDomain: "[...]",
    databaseURL: "[...]",
    projectId: "[...]",
    storageBucket: "[...]",
    messagingSenderId: "[...]"
  }
};
That’s needed to make the Firebase settings available whether we’re building during development or for production.
Adding Libraries
Next, let’s add the libraries to our project by executing the following command:
$ npm install --save firebase@^4.4.0 angularfire2@^5.0.0-rc.2
That command is downloading and installing both packages, firebase and angularfire2, into the node_modules folders and adding the dependencies to the package.json file.
Insert the following import statements into app.module.ts:
import { AngularFireModule } from 'angularfire2';
import { AngularFireDatabaseModule } from 'angularfire2/database';
import { AngularFireAuthModule } from 'angularfire2/auth';
Also add the modules AngularFireModule, AngularFireDatabaseModule, and AngularFireAuthModule to the imports aray of the @NgModule decorator in the following way:
@NgModule({
  declarations: [
    AppComponent,
    AppNavbarComponent
  ],
  imports: [
    BrowserModule,
    AngularFireModule.initializeApp(environment.firebase),
    AngularFireDatabaseModule,
    AngularFireAuthModule
  ],
  providers: [],
  bootstrap: [AppComponent]
})
export class AppModule { }
Please note, that for module AngularFireModule the method initilizeApp is called and that the Firebase configuration (available via environment.firebase) is passed into that method. To gain access to the environment object you need to add the following import statement as well:
import { environment } from './../environments/environment';
Adding Bootstrap 4
Let’s add the Bootstrap 4 library to our project by using NPM again:
$ npm install --save bootstrap@next
We need to add @next to the package name because at the time of writing this post Bootstrap 4 is still in beta. The @next addition makes sure that version 4 of Bootstrap is installed, not version 3.
The NPM command installs Bootstrap 4 into the folder node_modules/bootstrap and at the same time makes sure that the dependency is added into the package.json file.
@import "~bootstrap/dist/css/bootstrap.css"
BootStrap Starter Template
To add a Bootstrap user interface to our sample application we’ll make use of the Bootstrap Starter Template which is available at https://getbootstrap.com/docs/4.0/examples/: To setup a basic user interface with Bootstrap elements we’re going to use code from the Bootstrap Starter Template which can be found on the Examples page:

Clicking on the link Starter template opens up the starter template website in a new browser window. To access the HTML markup code of the starter template just open the browser’s source code view.
Furthermore we’d like to include the navigation bar from the starter template as well. We do that by first adding a new component to out application by using Angular CLI again:
$ ng g component app-navbar
This command creates a new folder src/app/app-navbar/. Within that folder you’ll find the following four files:
The component’s template code can be found in file app-navbar.component.html Delete the default markup code from that file and copy and paste the following code excerpt from the Bootstrap starter template:
Next, let’s open app-navbar.component.ts and adapt the string value which is assigned to the selector property of the @Component directive from app-app-navbar to app-navbar:
@Component({
  selector: 'app-navbar',
  templateUrl: 'app-navbar.component.html',
  styles: []
})
Now add the <app-navbar> element to the template code of AppComponent:
Finally some CSS code needs to be added to styles.css
body {
   padding-top: 80px;
}
.starter-template {
    padding: 3rem 1.5rem;
    text-align: center;
}
The result of the application in the browser should now comply with the Bootstrap starter template’ output:

Adding ng-Bootstrap
There is one difference between the result we’re getting from our application and the original Bootstrap Starter Template. If you try to open the Dropdown menu item in the navigation bar you’ll notice that no dropdown menu appears. The reason for that is that we’ve only included the Bootstrap CSS file in our project. The JavaScript part of Bootstrap (which is relying on JQuery and Popper.js) has not been added.
npm install --save @ng-bootstrap/ng-bootstrap
Having completed the installation the corresponding Angular module NgbModule must be imported in app.module.ts:
import { NgbModule } from '@ng-bootstrap/ng-bootstrap';
NgbModule needs to be added to the imports array by calling the forRoot() method as you can see in the following:
imports: [
BrowserModule,
AngularFireModule.initializeApp(environment.firebase),
AngularFireDatabaseModule,
AngularFireAuthModule,
NgbModule.forRoot()
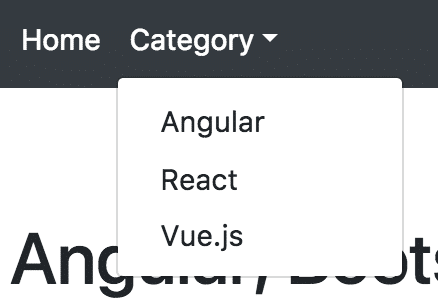
],Now we can make use of the Bootstrap directives in our template code. For implementing the dropdown menu we’ll need to make use of the following three directives: ngbDropdown, ngbDropdownToggle, and ngbDropdownMenu:
The result should now look like the following when you click on the menu Category:
Retrieving Data From Firebase
Finally, let’s retrieve and display some sample data from the Firebase real time Database. Therefore we assume that the following JSON data structure has already been created in the real time database:
{
  "courses" : {
    "angular-complete-guide" : {
      "description" : "Master Angular (Angular 2+, incl. Angular 5) and build awesome, reactive web apps with the successor of Angular.js",
      "title" : "Angular - The Complete Guide",
      "url" : "https://codingthesmartway.com/courses/angular2-complete-guide/"
    },
    "learn-ionic3-from-scratch" : {
      "description" : "Create Cross Platform Mobile Applications with Ionic 3, Angular 4, TypeScript and Firebase.",
      "title" : "Learn Ionic 3 From Scratch",
      "url" : "https://codingthesmartway.com/courses/ionic3/"
    },
    "modern-react-with-redux" : {
      "description" : "Master the fundamentals of React and Redux with this tutorial as you develop apps with React Router, Webpack, and ES6",
      "title" : "Modern React With Redux",
      "url" : "https://codingthesmartway.com/courses/modern-react-with-redux/"
    },
    "vuejs2-complete-guide" : {
      "description" : "Vue JS is an awesome JavaScript Framework for building Frontend Applications! VueJS mixes the Best of Angular + React!",
      "title" : "Vue.js 2 - The Complete Guide",
      "url" : "https://codingthesmartway.com/courses/vuejs2-complete-guide"
    }
  }
To retrieve and display this data in our application we’re adding a new Angular component:
$ ng g component courses-list
This creates a new folder courses-list in src/app and you’ll find the component files within that folder.
import { Component, OnInit } from '@angular/core';
import { AngularFireDatabase } from 'angularfire2/database';
import { Observable } from 'rxjs/Observable';
@Component({
  selector: 'courses-list',
  templateUrl: 'courses-list.component.html',
  styles: []
})
export class CoursesListComponent implements OnInit {
  coursesObservable: Observable<any[]>;
  constructor(private db: AngularFireDatabase) { }
  ngOnInit() {
    this.coursesObservable = this.getCourses('/courses');
  }
  getCourses(listPath): Observable<any[]> {
    return this.db.list(listPath).valueChanges();
  }
}
Here we’re injecting the AngularFireDatabase service into the class constructor. The class contains a method getCourses which takes a database path as a parameter. An observable for the list of courses in the database is retrieved by calling the list method of the AngularFire Database object, passing in the database path, and calling the method valueChanges.
`<ul>
    <div *ngFor="let course of coursesObservable | async">
        <ngb-alert type="info" [dismissible]="false">
            <h3><a href="#">{{course.title}}</a> </h3>
            <p>{{course.description}}</p>
            <div>
                <a href="{{course.url}}" target="_blank" class="btn btn-danger">Go To Course</a>
            </div>
        </ngb-alert>
    </div>
</ul>`
To access the coursesObservable in the template code we need to apply the async pipe.
Now the result in the browser should look like the following:

Conclusion And Outlook
In this first part we’ve started to build our Angular 5, Bootstrap 4 and Firebase application from scratch. You’ve learn how to setup the project, install the required libraries, and tie everything together. The resulting sample application can be used as an application skeleton for implementing your own features.